Your bag is empty
Don't miss out on great deals! Start shopping or Sign in to view products added.
Shop What's New Sign in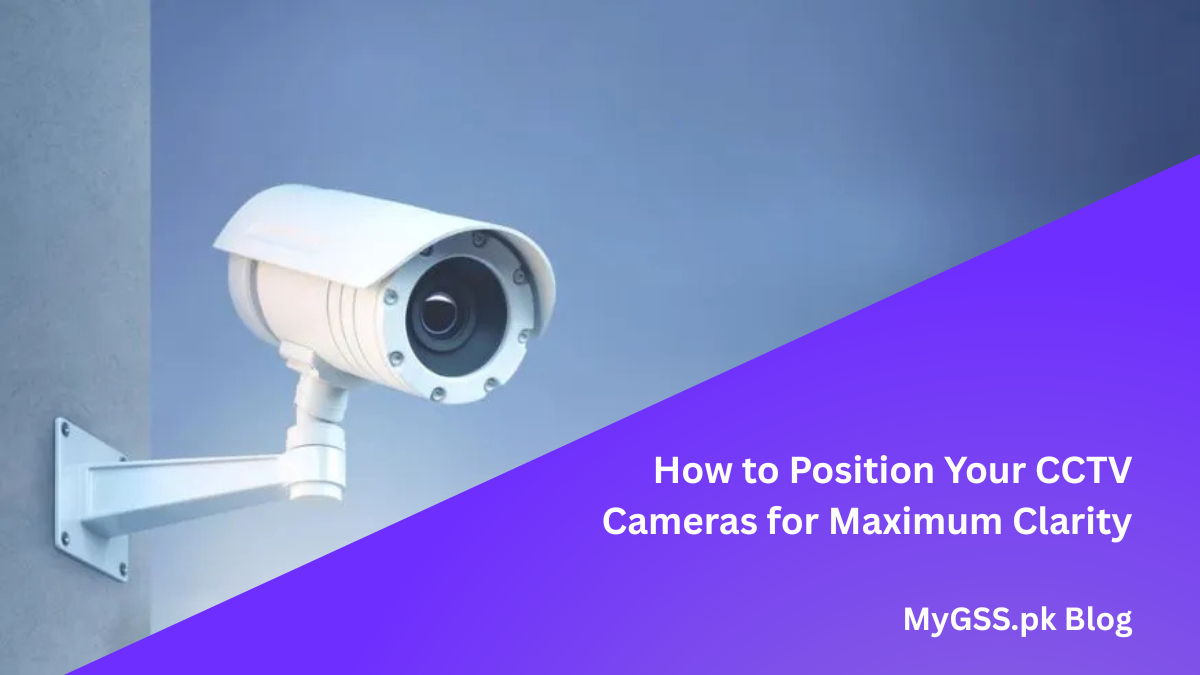
Investing in a premium security camera from a trusted brand like Hikvision, Dahua, or IMOU is only half the battle. The other half — the part most people get completely wrong — is where you put it and how you set it up.
Here is the hard truth: a poorly placed 4K camera will deliver worse footage than a correctly positioned 2MP camera. Blurry faces, washed-out frames, pitch-black night footage — these are not camera problems. They are placement and configuration problems.
For homeowners and business owners across Pakistan, where security threats are a daily reality, getting this right is not optional. This step-by-step guide covers exactly how to position your CCTV cameras for maximum clarity — and the critical settings you need to configure after installation.
Forget guesswork. These are the precise placement rules that separate professional CCTV installations from DIY disasters.
This is the single most important rule in camera positioning and the one most commonly ignored.
Pointing a camera straight ahead captures walls, fences, and sky — none of which are useful. Tilting your camera downward at approximately 30 degrees does three things:
A 30-degree downward tilt is the sweet spot. Too steep and you see only the floor. Too flat and you see only foreheads.
Height and angle work together. The ideal mounting height for any CCTV camera is between 8 to 10 feet (2.4 to 3 metres) from the ground.
This height achieves three things simultaneously:
Go above 12 feet and faces become unrecognisable. Go below 6 feet and your camera becomes an easy target for anyone wanting to redirect or cover it. Stick to the 8 to 10 feet rule without exception.
This is a technical mistake that ruins night footage for thousands of camera owners in Pakistan — and almost nobody talks about it.
When a camera is mounted flush against a side wall, the infrared (IR) LEDs built into the camera bounce their light directly off the wall and back into the lens. The result is a bright white wash across your night footage that makes the entire image useless.
The fix is simple: maintain at least a 2-foot gap between your camera and any adjacent wall surface. This gives the IR light room to project forward rather than reflect backward.
This is another extremely common mistake in Pakistani homes and offices.
Glass and infrared light do not mix. At night, when your camera’s IR LEDs activate, the glass window acts as a mirror — reflecting all that infrared light straight back into the lens. Your footage becomes a bright, blurry white void with no visible detail whatsoever.
If you need to monitor an outdoor area from inside, always mount the camera outside rather than aiming it through a window. There is no workaround for this — the glass will always ruin your night footage.
Direct sunlight is a camera’s worst enemy during the day — and it is entirely avoidable with correct orientation.
Cameras facing East are blinded every morning by the rising sun. Cameras facing West are blinded every evening by the setting sun. This happens for one to two hours every single day, creating a predictable daily blind spot that any observant intruder can exploit.
The solution is straightforward: orient your cameras to face North or South wherever possible. These directions never receive direct sunlight regardless of the time of day.
When North or South orientation is not possible due to the property layout, install a camera hood or sun shade above the lens to block direct sun exposure.
Every property has critical chokepoints — the places everyone must pass through to enter or exit. These are your highest priority camera locations and they deserve dedicated cameras, not shared coverage.
Mount a camera directly facing each entry point at eye level — main gates, front doors, back entrances, and wicket gates. Eye-level positioning here is key because your primary goal at entry points is facial identification, not wide-area coverage.
A dedicated entry-point camera positioned correctly will give you footage sharp enough to identify a person’s face, read a vehicle’s number plate, and provide evidence that holds up in a police report.
Physical positioning alone is not enough. Once your cameras are mounted, log into your DVR, NVR, or IP camera app and configure these three settings. Skipping this step is like buying a high-performance car and never adjusting the mirrors.
This is the most impactful software setting for daytime clarity.
Standard cameras struggle enormously when a single frame contains both very bright and very dark areas at the same time — think of a sunlit driveway viewed through a shaded gate, or a bright shop entrance with a dark interior behind it. Without WDR, one area is perfectly exposed and the other is either completely white or completely black.
True WDR solves this by balancing the exposure across the entire frame simultaneously. Subjects that would otherwise appear as dark silhouettes become clearly visible even against a bright background.
Enable WDR in your camera’s image settings menu. If your camera offers adjustable WDR levels, start at medium and increase only if the image still appears unbalanced.
Modern IP cameras come with autofocus — and while convenient, autofocus is not always reliable for security applications.
Autofocus systems can drift over time, refocus on moving objects like trees or passing vehicles, and lose sharpness on the critical area you actually care about — your gate latch, car park entrance, or cash counter.
If your camera supports a motorized or varifocal lens, manually set and lock the focal point on your most critical zone. Once locked, the camera will maintain sharp focus on that exact area regardless of what else moves in the frame.
This is the setting almost no one configures — and it is responsible for the majority of blurry night footage in Pakistan.
In low light, cameras automatically slow down their shutter speed to allow more light into the sensor. This works well for stationary objects but causes severe motion blur the moment a person walks past the frame. The result is a smeared, ghostly image that is completely useless for identification.
The fix: access your camera’s advanced image or exposure settings and set the minimum night shutter speed to 1/30s or 1/60s. This forces the camera to maintain a fast enough shutter to freeze motion clearly, even in low light conditions.
Note that faster shutter speeds in low light will produce slightly darker footage — this is a worthwhile trade-off. Pair this setting with a quality IR camera or add external lighting to compensate for the reduced exposure.
Before you finalise any camera installation, run through this checklist:
| Placement Rule | Done? |
|---|---|
| Camera angled downward at 30 degrees | ✅ |
| Mounted at 8 to 10 feet height | ✅ |
| At least 2-foot gap from side walls | ✅ |
| Not pointed through glass windows | ✅ |
| Facing North or South orientation | ✅ |
| Dedicated camera at each entry point | ✅ |
| WDR enabled in settings | ✅ |
| Focus point manually locked | ✅ |
| Night shutter speed set to 1/30s or 1/60s | ✅ |
The difference between security footage that identifies a criminal and footage that is thrown out as useless evidence comes down to two things — where your camera is placed and how it is configured. Neither requires expensive equipment. Both require attention to detail.
Follow the placement rules and configure the three settings in this guide, and your security system — regardless of brand or budget — will deliver the sharp, reliable footage it was designed to provide.
If you need expert advice on choosing the right cameras for your property or want help selecting the ideal setup for your home or business, the team at MyGSS.pk is here to help.
📷 Shop Pakistan’s Best Security Cameras Genuine products. Lowest prices. Cash on Delivery across Pakistan. 👉 View Security Cameras at MyGSS.pk