Your bag is empty
Don't miss out on great deals! Start shopping or Sign in to view products added.
Shop What's New Sign in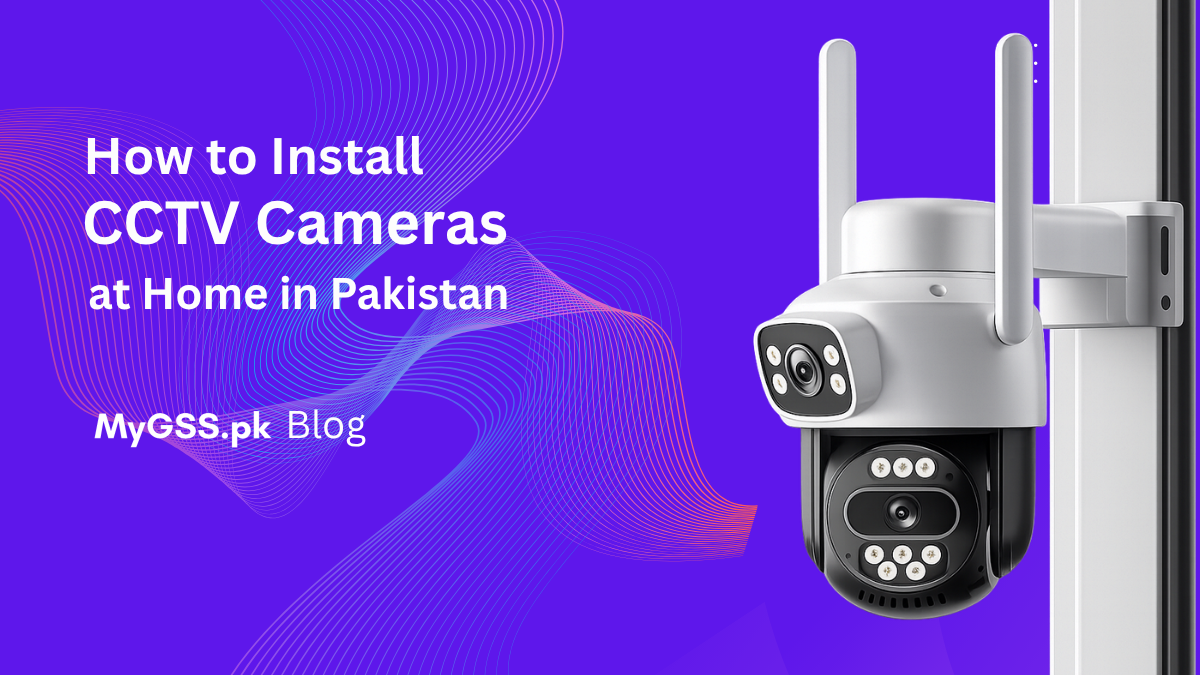
Home security has become a top concern for Pakistani families. With rising urban crime and the need to keep a watchful eye on your property — even when you’re away — installing a CCTV camera at home is one of the smartest investments you can make. The good news? The process is more straightforward than most people think.
In this guide by MyGSS.pk, Pakistan’s trusted security solutions provider, we’ll walk you through exactly how to install a CCTV camera at home in Pakistan — from planning your setup to going live with remote monitoring on your phone.
Before picking up a screwdriver, make sure you have all the necessary equipment. A standard home CCTV setup in Pakistan typically includes:
At MyGSS.pk, we supply complete CCTV kits with everything you need — so you don’t have to source equipment from multiple places.
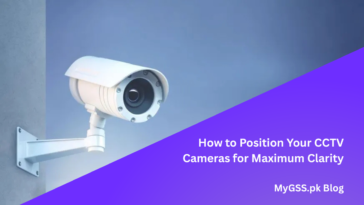
The most important step in any CCTV installation is deciding where to place your cameras. Poor placement means blind spots — and blind spots defeat the entire purpose.
For a typical Pakistani home, the recommended locations are:
Pro Tip: Always position cameras at a height of 8–10 feet. Low enough to capture facial features clearly, high enough to be out of easy reach.
Not all cameras are the same. Choosing the right type for each location makes a huge difference in image quality and coverage. Here are the most commonly used types for home installation in Pakistan:
For most homes in Pakistan, a combination of outdoor bullet cameras with night vision and indoor dome cameras works best.
This is the most labor-intensive part of the installation, but doing it right ensures a clean and reliable system.
Use RG59 coaxial cables with BNC connectors. Run one cable per camera from the camera location back to where your DVR will be placed — typically near your router and a TV or monitor.
Use CAT6 Ethernet cables. If you’re using PoE (Power over Ethernet) cameras, a single cable carries both data and power — which simplifies the wiring significantly.
Key Tips for Wiring in Pakistani Homes:
If you’re not confident about drilling through walls or routing cables across floors, this is the step where calling in a professional from MyGSS.pk saves you time and costly mistakes.
Once your cables are routed, it’s time to physically install the cameras.
Make sure outdoor cameras are properly sealed against dust and rain — Pakistan’s monsoon season can damage poorly installed hardware quickly.
With cameras mounted and cables routed, connect everything to your DVR or NVR:
On first boot, your DVR/NVR will guide you through initial setup — including date/time, recording schedule, and motion detection settings.
A well-configured system doesn’t just record — it records smartly. Set up the following:
This is the feature most Pakistani homeowners love — watching their home live from anywhere in the world.
Once set up, you’ll receive instant motion alerts and be able to check in on your home anytime — whether you’re at work, traveling abroad, or just in another room.
Here’s a rough estimate for DIY vs professional installation:
| Setup Type | Cameras | Estimated Cost (PKR) |
|---|---|---|
| Basic DIY Kit (4 cameras) | 4 | 20,000 – 35,000 |
| Standard Home Setup | 4–6 | 35,000 – 65,000 |
| Full Home Coverage | 6–8 | 65,000 – 1,20,000 |
Prices vary based on brand (Hikvision, Dahua, CP Plus), resolution (1080p vs 4K), and storage size. MyGSS.pk offers transparent pricing with no hidden charges.
| DIY Installation | Professional Installation | |
|---|---|---|
| Cost | Lower upfront | Higher upfront |
| Time | Several hours to a full day | 2–4 hours |
| Quality | Depends on your skill | Guaranteed clean finish |
| Warranty | None on labour | Covered by installer |
| Risk | Mistakes are costly | Zero risk |
For most homeowners MyGSS.pk is the smarter choice. Our team handles everything — — so your system works perfectly from day one.
You now know exactly how to install a CCTV camera at home in Pakistan. Whether you choose the DIY route or want a stress-free professional installation, MyGSS.pk is here to help.
🌐 Visit: www.MyGSS.pk
Your family’s safety is worth it. Let MyGSS.pk protect what matters most — starting today.