Posted on Leave a comment

How to Connect a V380 Wireless Security Camera to a PC

V380 for PC

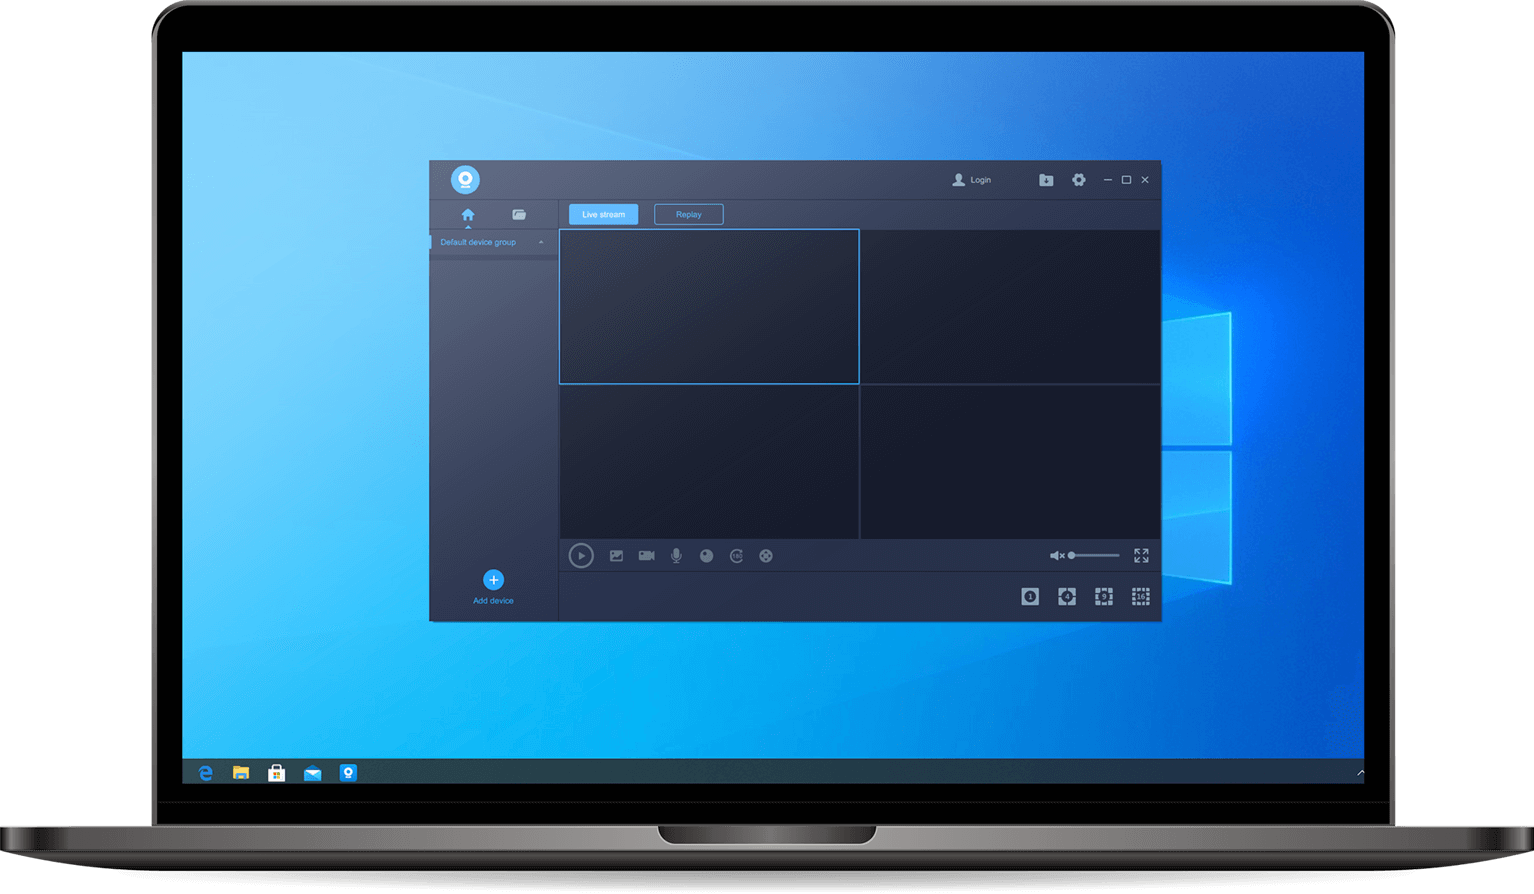
Here is a quick configuration guide for How to Set Up V380 Wireless Security Camera to a PC.There are just 5 quick steps to connect a V380 Wireless Security Camera to a PC.

Looking for a way to secure your home or office, wireless security cameras can be a great option. With a wireless security camera, you can view the camera feed from remote locations using any PC with an Internet connection. Wireless security cameras do not need to be physically connected to a PC using a USB or other data cable.

STEP 1

Log in to your PC and go to your browser type V380 for PC in the search bar and search it.

STEP 2

In the next window, browser will show you all the sites of your search.

Click on the first site which is V380 FOR PC and on the next page go to Window and u will see the new page.

Select the option of Download and the V380 application will be downloading starts.

STEP 3

Open the V380 app and select Create a desktop shortcut Click on next then install.

Make your account on V380 app.

STEP 4

Now configure your V380 Wireless Security Camera.

Click here to read how to configure the wifi security camera.

STEP 5

Click on ADD DEVICE then select Manually add by device ID.

Enter the Device Id and Password then click Add manually.

Now your V380 Wireless Security Camera connects with your PC.

We also have a good arrange of Wifi Security Cameras. Check out this link.

Wired vs. Wireless Cameras: Which to Buy?

Wired Security Cameras

A wired camera system may be best for you if you don’t mind doing some work on the front-end for the long-term benefit of system reliability.

You either own the home or expect to be in it for a long while. You’re good with tools and don’t mind poking into a few walls. If you’re not a do-it-yourselfer, you’re fine with hiring a company to set up the wired system for you.

Wireless Security Cameras

Wireless or wire-free security cameras might work best for you if you want to get the system up and running quickly, plus you want flexibility.

Alterations to your home might be a concern, either as a renter or an owner. Or you simply aren’t interested in doing a lot of work by yourself.

If you rent, you especially will want a wireless or wire-free system because it can move with you to your next home.

Posted on Leave a comment

How to set up ICSEE camera

hilink h1

Here is quick configuration guide for How to Setup ICSEE Camera.

ICSEE Camera Online Configuration:

  • Install ICSEE app from Play Store or App Store
  • Log-In/Sign-Up into your Account
  • Tap on + sign on right top corner of screen
  • Tap on wifi camera
  • On next page tap Next
  • On next page read instruction carefully and tap Next
  • Choose your home/work wifi network and enter its password and tap on next
  • On next page click Confirm and tap on Next
  • Now bring your mob phone display in front of the camera lens in less then 1 feet range .. Wait for camera to take the wifi password.
  • When network connection is successful follow the instructions to setup camera password, name and other setting.
  • You are good to go

ICSEE Camera AP Hotspot Configuration Method:

Press reset button for 3 to 5 times repeatedly and wait for voice prompt for AP hotspot mode to turn on.

  • Install ICSEE app from Play Store or App Store
  • Log-In/Sign-Up into your Account
  • Tap on + sign on right top corner of screen
  • Tap on Other distribution networks and adding methods and select AP Mode connection
  • Select camera hotspot signals like (robot_76g7) and connect to it. Enter its default password (123456789) if asked
  • Set Camera name, cameras password and other setting as asked.

you are good to go

See Also: How to Set Up V380 Camera